While I love love love the room now, this is totally not what I was pinning when we found out that Baby #3 was a boy! Initially I started out dreaming up a turquoise and orange room, and as you can see from the pictures... this is far from that! Not sure when or how I did a total 180* on nursery plans, but I believe it all started by purchasing Skip Hop's Mod Dot crib sheet and blanket.
Mind you... there is no turquoise or orange in it! Ha! So much for my grand plans! But I find that is often how I roll-- I start with one thing, then head in the totally opposite direction. I have a million and one ideas and then the idea that I settle on... was not one of those! But in the end, it all fits together and I give a big sigh of relief!
Anyhow, decorating and decor are not main themes to my blog-- but my children are, and so I thought I'd share anyways! Hope you don't mind!
I decided to play off the colors of the Mod Dot bedding set, while adding in 'pops' of a safari theme. Everything I will be sharing with you, with the exception of the bedding and safari animal decals, were all DIY!! I think that is why I love this room so much!
I purchased the Safari decals from All On the Wall on Etsy; they were a custom listing and work beautifully in this room! So happy with them! I painted some basic white white frames from Michael's to "frame" them.
The yellow and green lanterns were purchased in a pack of 6 from Party City; they were originally white. I used paint I had on hand that just so happened to match the bedding and, Voila! You'll see that I painted 3 more lanterns further along in this post...
Baby Boy's Gallery Wall! Again this started out on a completely different wall with a completely different layout and after one too many holes in the wall, I am happy with it! The mirror was purchased from Hobby Lobby and I painted it green to match his room. The tin star was actually purchased at Michael's and was originally decorated red, white, and blue, but as you can see... I painted over that, too!
This was a fun project to do and Big Brother helped me out, too! Not sure the size of the canvas, but all I did was use toilet paper tubes and paint to create the circles. Easy enough! The bare wood numbers were purchased from Michael's and painted.
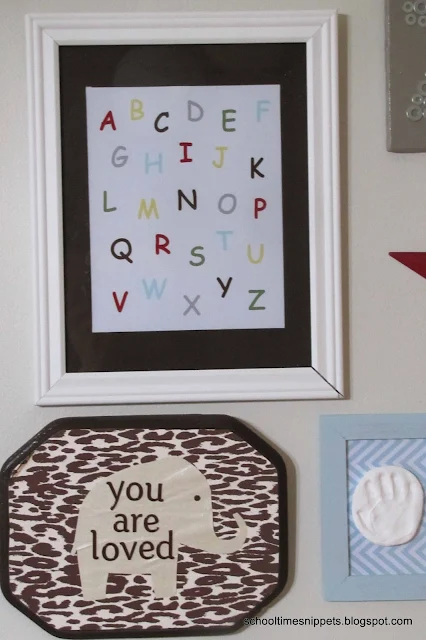
I created the ABC framed art in Photoshop and painted the mat brown.
I was inspired by this Elephant print on Etsy and decided to make my own using a wooden plaque, scrapbooking paper, and scrapbook stickers.
{ummm.. please excuse my crooked pictures! Ha! It's not the wall ... it's ME! Oyi!!}
Handprint/ Footprint Keepsake Framed Art:
I painted two cheap-o wood frames from Ikea and found the Chevron patterns online somewhere?! Then simply glued the keepsakes onto the plastic "glass" in the frame to give it a 3D look.
Here's the three other lanterns I painted that I mentioned above! This is the opposite side of the room... Hanging along the left wall is a burlap banner my mom made specially for Baby Boy!
I hope you love the room as much as I do!! Thanks for letting me share this special room with you!
I'd love for you to follow along so you never miss out on one of our fun activities we share at School Time Snippets!


