''Look! A Butterfly!''
And time suddenly stands still.
It's amazing how those three simple words can stop everyone in their tracks as we turn to follow the tiny creature flitter fluttering in the distance! And their transformation from rather humble beginnings is nothing short of a miracle, too.
If you spot a butterfly outside, take learning inside and create this butterfly lifecycle craft; it's a fun, hands-on (literally) way to teach the butterfly lifecycle for kids!
BUTTERFLY LIFECYCLE FOR KIDS
Big Brother was reading about insect life cycles in Science recently, and while he was working through some questions and the two littles were hanging around, I thought of an idea to share what Big Brother was working on with them!
The life cycle of a butterfly is fascinating! From a humble little caterpillar to a delicate winged beauty, butterflies are an amazing part of God's created world. Butterflies go through four stages: egg, larva, pupa, and adult. These stages of change is a process called, ''metamorphosis.''
A couple years ago we had the opportunity to actually watch it happen with our Insect Lore Butterfly Kit! If you have never ''grown'' your own butterflies before, I HIGHLY recommend it! It takes the butterfly lifecycle to a whole new level as kids get to SEE every stage happen right before their eyes.
But since we didn't have a kit lying around this time, I turned to the next best thing-- my littles' hands!
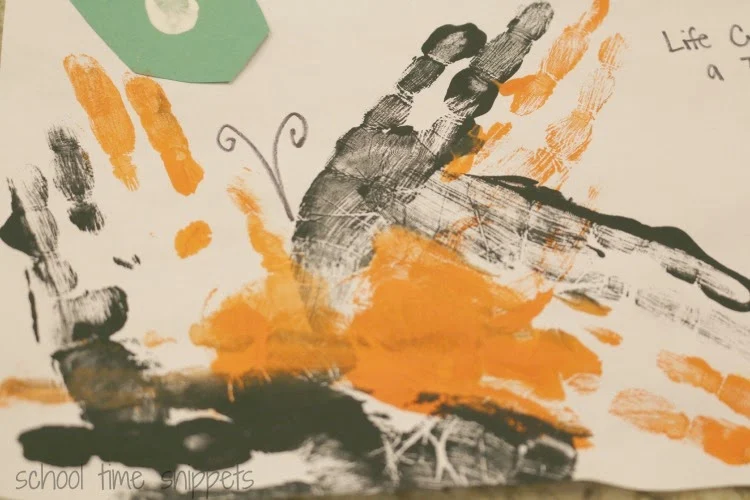
Using their fingerprints, thumb print, and whole hand we made this butterfly lifecycle craft!
BUTTERFLY LIFECYCLE CRAFT
Supplies:
- White Construction Paper
- Green Construction Paper
- Various Colors of Paint
- Paint Brush{es}
- Marker
- Paper Towel or Wipes for messes!
- Scissors
- Glue
CRAFT YOUR WAY THROUGH THE BUTTERFLY LIFECYCLE
Using the scissors, cut out two green leaves for each child; visually break the white piece of construction paper into fourths and glue the one green leaf into the first section.
Using white paint, paint your child's fingerprint and have them press their finger onto the leaf-- this is the egg.
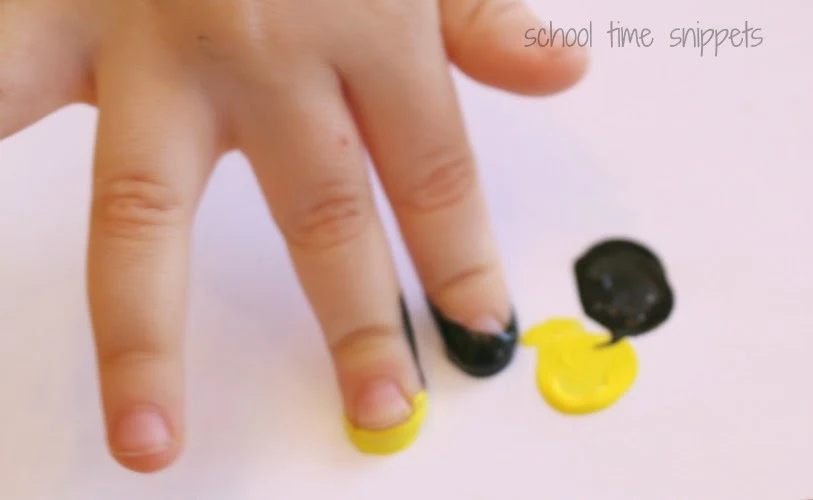
Now, paint your child's middle finger and pointer finger one or two colors and have them alternate pressing their fingers onto the paper-- this is the caterpillar.
In the third section, glue the other green leaf.
Paint your child's thumb green and have them press down just under the leaf, so that it look like their fingerprint is "hanging"-- this is the chrysalis.
Pardon this interruption for a little lesson (HA!) Growing up, I always used the term ''cocoon,'' which is the silk covering that encases the pupa. And while it can be used interchangeably when talking about a butterfly or moth pupa, the CORRECT term for a butterfly pupa is chrysalis!
This can be a bit messy, so be forewarned!
Paint your child's whole hand whatever color{s} he chooses and help direct him to push his hand down four times-- this is your butterfly! OR in hindsight, just use your child's palm twice-- it'll still look like a butterfly with a little less mess!
Add any finishing touches, such as antennas and label the life cycle with a marker.
Each one of my kiddos completed a butterfly lifecycle craft using their handprints-- love them all!
Top one was done by my 7 year old; middle was my 2 year old; last one pictured was made by my 4 year old!


