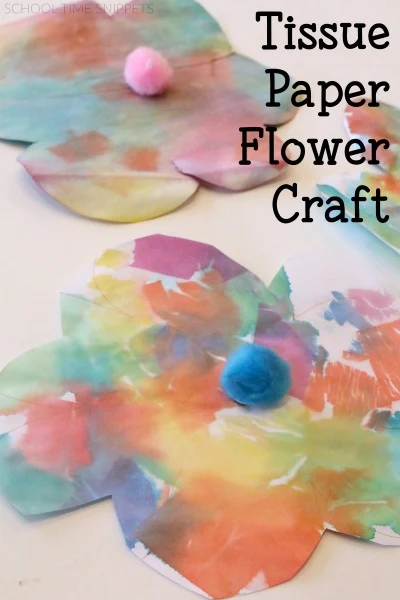
Bleeding tissue paper is such a fun medium for kids to use.
This activity was prompted by my 5 year old who loves to create with markers, crayons, paints, glitter, etc! She requested the tissue paper and on her own, made a flower! I loved it so much that we did this flower craft another day so that my 8 year old could join in, too!
These Tissue Paper Flowers are a perfect craft for spring!
post contains affiliate links.
Have you used bleeding tissue paper with your kiddos before? My kiddos loved it! With the way the colors bleed into each other and overlap, each flower ended up being as unique as each of my kiddos! We loved this spring process art activity!
What you need:
- Bleeding Tissue Paper
- Watercolor Paper
or Cardstock
- Water
- Paint Brushes
- Tray
- Scissors
- Pom Poms
- Glue
Flower Craft for Kids
I cut the bleeding tissue paper  into small squares so that it was easier to manage, and provided a pile of the tissue paper in the middle of our table.
Make sure your surface area is covered, or else whatever you are working on will get dyed as well!
I made an outline of a flower on the white paper to give my kiddos a guide as to where to put the tissue paper. I find it easier to get the paper a little wet first, then lay the tissue paper squares onto the paper, but you could also do it the opposite.
Brush the tissue paper with water again if you'd like! Once the flower is covered, wait for the tissue paper to dry.
Once the tissue paper has dried, it should just fall right off.
Next cut out the flower shape and glue a pom pom to the middle of your tissue paper flower!
So pretty!
Either way, display those gorgeous flowers around the house as you await spring!


